
Roles & Permissions
A Role is a set of Permissions a Team Member has access to. There are both default Roles, which can not be edited, and Custom Roles. To change a default Role, clone it into a Custom Role. Custom Roles need the Professional or Enterprise plan. To create one, a Team Member needs the 'Manage Roles' permission.
Default Roles
The default roles that come with every account are 'Admin User', 'Super User', 'Scheduled Call User', 'Volunteer User', 'Internal Communications', 'Website Manager', and 'Email Manager'. These Roles define a variety of common permission sets that an organization may need. 'Admin User' can use every permission. 'Super User' can manage people, events, phonebanks, textbanks, blasts, the team, and roles, but it cannot delete, bulk update, or export people, or manage billing.
You can see the Permissions that each Role has access to by visiting the Roles & Permissions section under Settings, and clicking on the Role. The Roles & Permissions page lists only the roles that you could assign.
Custom Roles
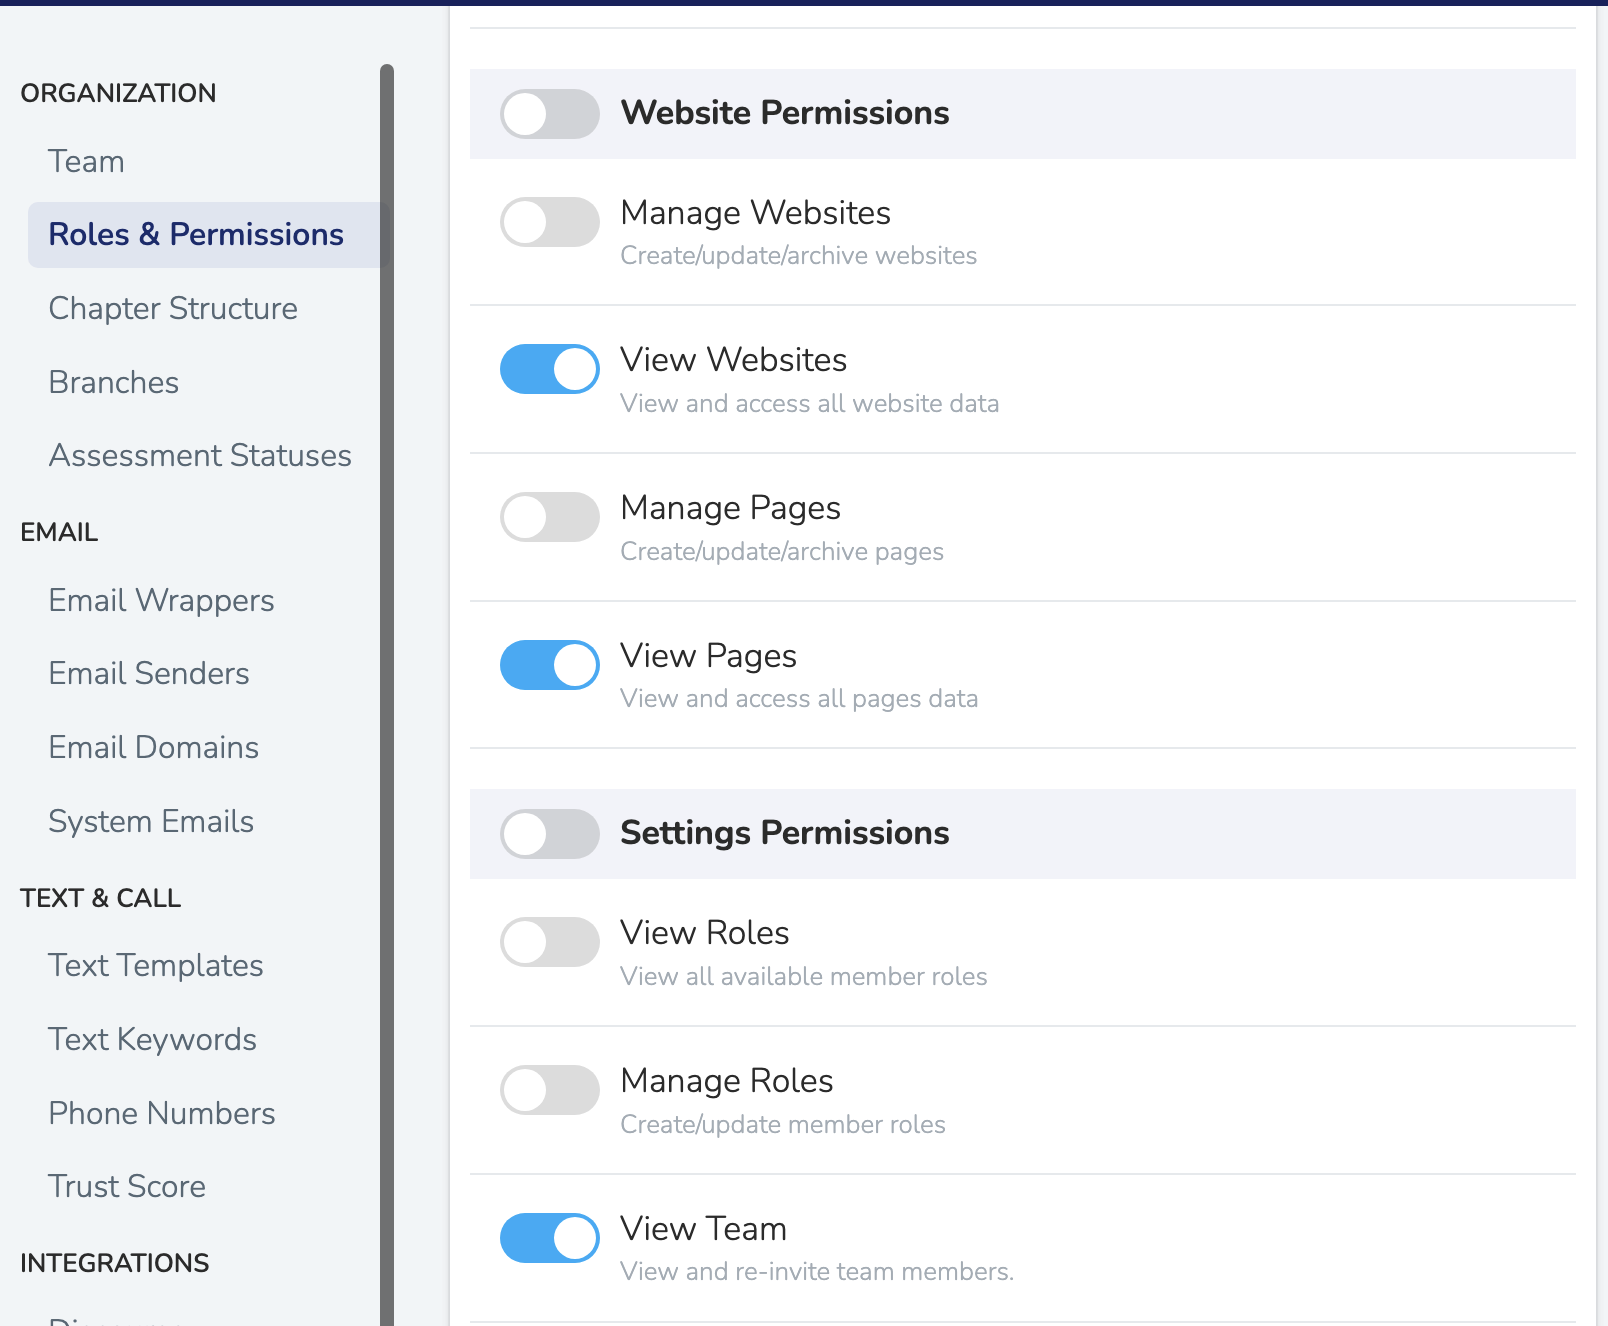
On the Professional plan, team members with the 'Manage Roles' permission can create custom roles to match precise permission sets. On Settings > Roles & Permissions, click 'New role'. Enter a 'Role Name', click 'Create role', and turn on the permissions you want to grant.
Cloning a Role
If you want to create a new role that is similar to an existing one, you can clone it rather than building from scratch. Cloning copies all of the existing role's permissions into a new, fully editable custom role.
To clone a role:
- Navigate to Settings → Roles & Permissions
- Click on the role you want to copy
- Click the Clone Role link near the bottom of the page
- Enter a name for the new role and click Clone Role
The new role appears immediately and can be edited like any other custom role. Cloning needs the Professional or Enterprise plan and the 'Manage Roles' permission. You can clone a default role, or a custom role that is available at your current scope. Unless you have the 'Admin User' role or are the account owner, you must hold every permission in the role that you clone.
Tip: Cloning is useful when you need a role that is nearly identical to an existing one but with one or two permissions added or removed — for example, a version of your standard organizer role that also includes the ability to send email blasts.
Common Permission Scenarios
| Scenario | Permission Needed |
|---|---|
| Draft emails/texts but not send them | Enable "Draft" permissions, disable "Send" permissions |
| Send emails/texts | 'Send Email Blasts' alone lets a team member draft and send email blasts. 'Send Text Blasts' alone does the same for text blasts. |
| View contacts but not edit | Enable 'View, Text, and Call All People'. Turn off every permission that adds, updates, merges, imports, or deletes people. |
| Take event attendance | Enable "Manage Events" permission |
| Run phonebanks only | Assign the 'Volunteer User' role. Then add the person on the phonebank's 'Team' or 'Team + Assignments' tab, or share the phonebank's magic link. |
| Create new people or event tags | 'Add New Tags' lets a team member create new people tags, event tags, and follow-up task tags. |
| View protected contact fields (phone, email, address) | Enable 'View Protected Properties'. It also shows restricted custom properties and notes. See Protected Core Fields |
| View and submit 10DLC brand registration and campaign verification | Enable "Manage 10DLC Compliance" permission |
| Log into the dashboard as another team member within your scope | Enable "Impersonate Team Members" permission |
| Allow a team member to connect an AI assistant (Claude, ChatGPT, Cursor) | Enable 'Connect AI Assistants (MCP)'. A connection also needs the Professional or Enterprise plan and the root organization's 'AI Assistant Access (MCP)' setting on 'Enabled' or 'Read only'. |
| Allow a connected AI assistant to add notes, edit tags/properties, save lists, or schedule tasks | Enable "AI Assistant Write Access" permission |
Tip: If someone says "I can't send my email blast," check their role's permissions first. They may have been granted draft permissions but not send permissions.
Impersonating Team Members
Team members with the 'Impersonate Team Members' permission or the 'Admin User' role can log into the dashboard as another team member within their scope. On Settings > Team, open the team member's menu and click 'Impersonate'. This is useful for troubleshooting, training, and support scenarios where you need to see exactly what another team member sees.
Important: All actions taken while impersonating are attributed to the team member being impersonated, not the person who initiated the impersonation session. Use this permission with care and only grant it to trusted administrators.
When impersonating, a banner is displayed at the top of the dashboard indicating which team member is being impersonated. You can end the session at any time by clicking Stop Impersonating in that banner.
AI Assistant Permissions
Two permissions control how Team Members can use AI assistants (such as Claude, ChatGPT, and Cursor) with Solidarity Tech:
- Connect AI Assistants (MCP) — Allows this Team Member to authorize an external AI assistant to access Solidarity Tech on their behalf. The assistant can only see what this person's Role can see in the dashboard. This permission is required before a Team Member can connect any AI assistant.
- AI Assistant Write Access — Allows this Team Member's connected AI assistants to make changes, including creating notes, editing tags and custom properties, saving lists, and scheduling follow-up tasks. Without this permission, connected assistants are read-only.
Note: Both permissions work together with the organization-wide AI assistant setting. Even if a team member has these permissions, the root organization's 'AI Assistant Access (MCP)' setting controls connections, and its default is 'Disabled'. Only a team member with 'Manage All Third-Party Integrations' and 'Manage Chapter Structure' at the root organization can change it. See Settings → Chapter Structure on the root organization page.
URL Parameters for Scope and Role Management
Solidarity Tech provides special URL parameters that allow administrators to manage user scope and role access dynamically.
Permanent Scope Changes
You can create URLs that permanently change a user's logged-in scope when they visit the link. This is useful for directing Team Members to specific organizational contexts or for administrative management.
Parameters:
change_scope_id: The ID of the target scope (Chapter or Organization)change_scope_type: Either "Chapter" or "Organization"
Example URLs:
https://dashboard.solidarity.tech/people?change_scope_id=123&change_scope_type=Chapter
https://dashboard.solidarity.tech/events?change_scope_id=456&change_scope_type=Organization
When a user visits a URL with these parameters, their scope will be permanently changed to the specified Chapter or Organization (assuming they have access to it). This change persists across their dashboard sessions until manually changed again.
Use Cases:
- Directing Team Members to work within a specific chapter context
- Administrative management of user scopes
- Onboarding Team Members to the correct organizational scope
Temporary Role Changes
The lia_role_id parameter lets any team member view one page load with the permissions of another role. The preview is not an exact copy of the role, because some checks still read your real roles. This is useful for testing what users with different permission levels can see and access.
Parameter:
lia_role_id: The hash ID of the role to temporarily assume
Finding the Role ID:
Every role has a hash ID in its URL, default roles included. To get the ID of any role:
- Navigate to Settings > Roles & Permissions
- Click on the role you want to test
- Copy the hash ID from the URL (the long string after
/roles/)
For example, if the role edit URL is:
https://dashboard.solidarity.tech/settings/roles/8TGIDx88PzcdNofDMApegsIhOedIr5ihTxb4Gl8Qmwc
The role ID would be: 8TGIDx88PzcdNofDMApegsIhOedIr5ihTxb4Gl8Qmwc
Example URL:
https://dashboard.solidarity.tech/people?lia_role_id=8TGIDx88PzcdNofDMApegsIhOedIr5ihTxb4Gl8Qmwc
Important Notes:
- Role changes are temporary and only apply to the single request
- You can change only to a role whose every permission you already hold in your role assignments. Team members with the 'Admin User' role can change to any role.
- The original role is restored after the page loads
- This feature is primarily for administrative testing and verification
Use Cases:
- Testing user experience for different permission levels
- Verifying what content is visible to specific roles
- Administrative troubleshooting and user support
Security Considerations
- Scope changes only work if the user has legitimate access to the target scope
- A role change works only for a role whose every permission you already hold in your role assignments. Team members with the 'Admin User' role can change to any role.
- Both features require proper authentication and existing dashboard access
Updated 2 days ago